Introducing: Your PHI Conversation

All Care3 members get their own PHI Conversation
Many of us have a binder with our past health history or that of our loved ones. Now you can transfer that paper binder to a “Digital Binder” that goes with you everywhere. We call it your PHI Conversation (PHI stands for personal health information). You can add files, doctor appointments, care tasks, track symptoms and incidents, and invite others (family, friend, doctor, nurse, etc.) to your PHI Conversation.
Why do we call this a “Conversation”? Because the goal is not just to have a place for you to store and capture your healthcare experience or that of a loved one, but also to share and discuss that information on an ongoing basis with people who can help you and/or your loved one live your best life. That’s the best kind of conversation we can and should have with those who care.
This post provides all the information you need to master the use of your PHI Conversation. Note, you can create a PHI Conversation for someone you’re caring for so you have access to their information as well. Let’s get started!
Note: Bookmark this post so you can refer back to it whenever you have to interact with your new PHI Conversation (Digital Binder).

Your PHI Conversation appears on your Conversations home screen
Find Your PHI Conversation (Digital Binder)
1 . From the Conversations home screen, find the one titled, “(Your First Name)’s PHI”. Tap into it and you will see a blank space. This conversation includes ONLY YOU. When you’re ready, you can invite others to your PHI Conversation.
2. To add items, scroll down to section called, Add Items to Your PHI Conversation.
Create a PHI Conversation for a Loved One


1. To create a PHI Conversation for someone you’re caring for, press the “chat” space icon in the lower right to create the a new Conversation.
2. By tapping the “+” button to Add to Conversation Group, select “Phone or Email” and enter YOUR email you used to create your MitoAction Mobile account. Tap “save”.

3 . Enter a Title: “Jane’s PHI” or similar. Adding an Image is optional.

4 . Tap “done” in the upper right corner.
Your PHI Conversation for someone you’re caring for is now created! You will see it on your home screen with the Title you just entered. Now let’s start adding some items to your and your loved one’s PHI Conversations.
Add Items to PHI Conversation (Digital Binder)

From Your Mobile Phone (iOS or Android):
To get started, tap into your PHI Conversation or the one you created for your Loved One.
1 . Tap the +” button in the lower left corner to show the media menu.
2. Tap the camera icon to take a photo. Choose “Capture Image” from the menu. Take the picture and tap “Use Photo”. The image is now in the message box.
3. Type a description of the image. Use keywords like “labs” that will make it easy to search for the image later when you need it. Tap “send”.
4. View your item in your PHI Conversation. The image is saved on our HIPAA-compliant cloud server.
From Your Computer:
1. Go to https://careplanner.care3.co/messaging/ and log in using your MitoAction Mobile powered by Care3 credentials (email and password).
2. Click (select) your PHI Conversation or the one you set up for your Loved One.
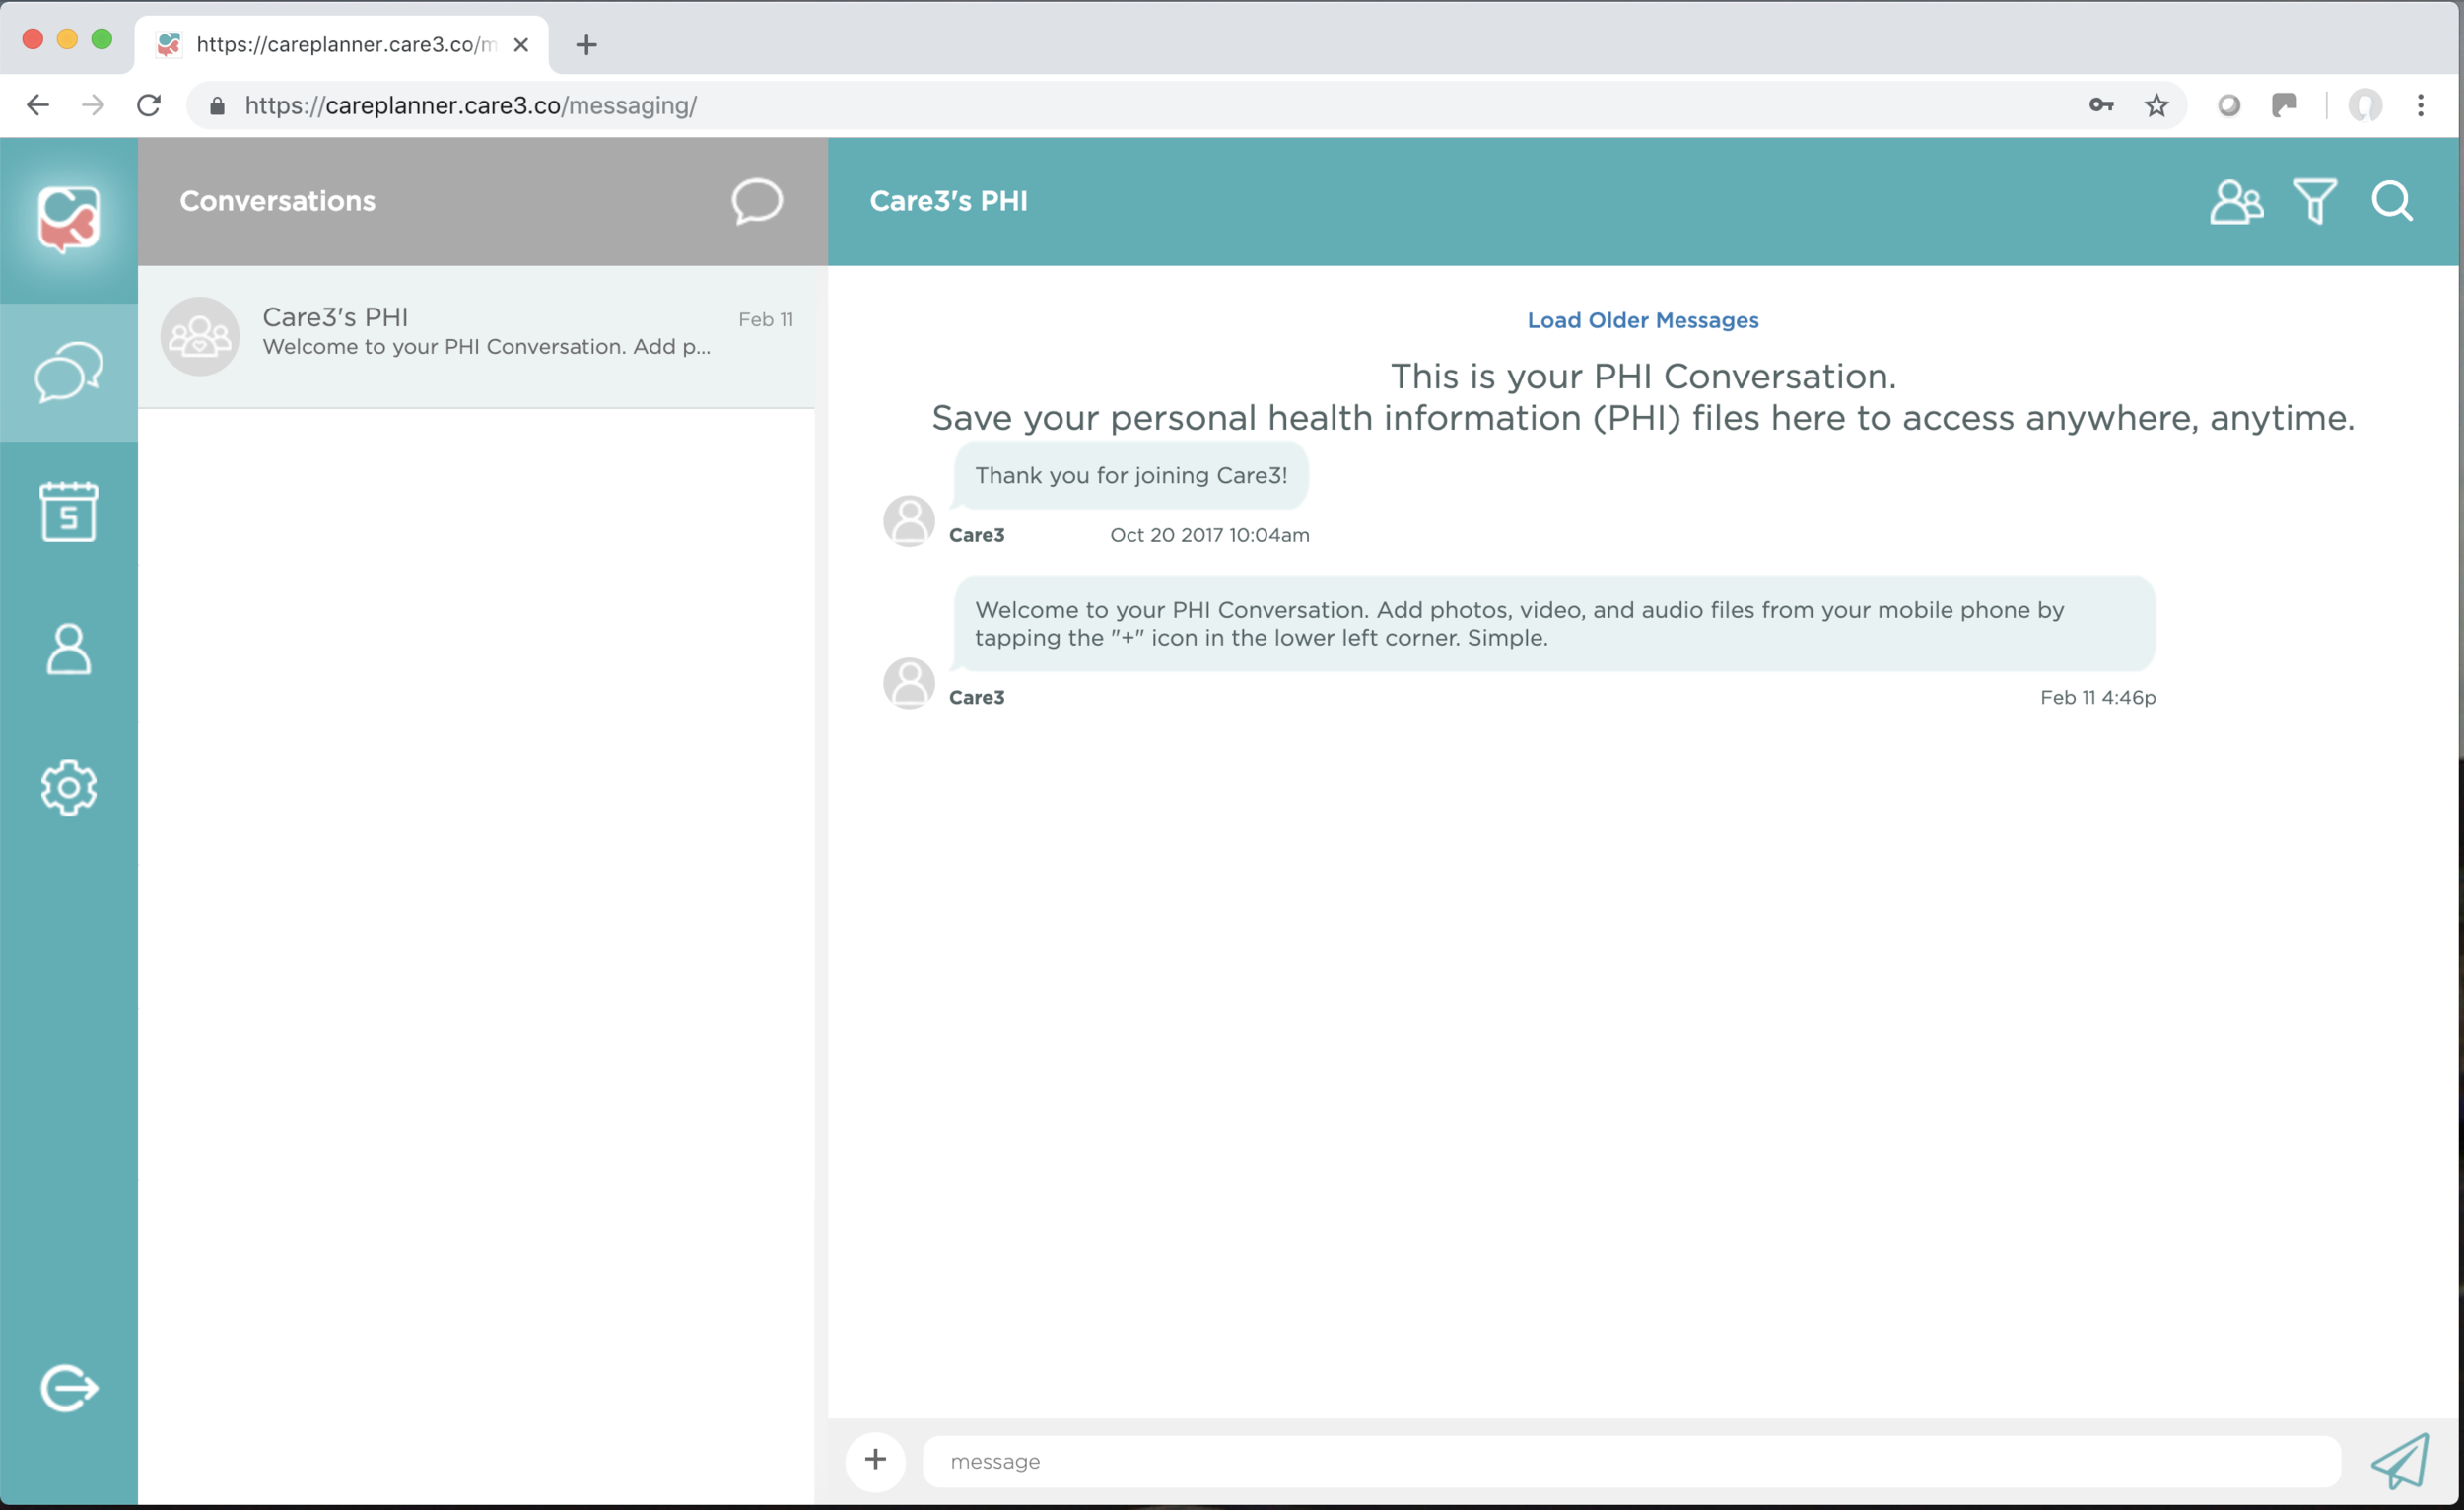
3. In the right section, tap the “+” icon to reveal “add media” menu. Select “file upload”.

4. Then select the file you wish to add to your PHI Conversation and click the “Open” button.

Note: You can also drag and drop files directly from your computer’s directory into the PHI Conversation.
That’s it! Repeat these steps for every item you want to have access to from your paper records. Now you have access to them from anywhere at anytime.
Invite Others to Your PHI Conversation

1 . To invite someone (family, friend, doctor, nurse, etc.) to your PHI Conversation, tap the “members” icon in the upper right corner.

2 . Tap the “add member” icon in the lower left corner. It’s the one with the “+” sign.
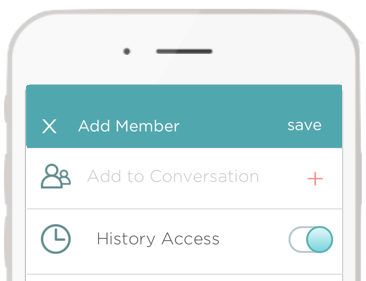
Steps 3, 4, and 5 appear on this image
3 . Tap “Add to Conversation” and select from the menu how you’d like to add the member. Most people choose “Add E-mail of Phone Number”. Add the person’s email address OR phone number—or select from your Contacts—or select from an existing Care Team.
4 . Make sure you tap “History Access” or “View Conversation History” to enable it (the toggle should be green). This gives full access to all files added to your PHI Conversation to the person you invite.
5 . Tap “save” and an invitation is automatically sent!
Now you have invited someone to your PHI Conversation (Digital Binder)! You can also send text and media messages about your healthcare to the person you invited after they join your PHI Conversation.